Hi, all my friends from home and abroad! Happy Tuesday again and Happy Monday to some friends from some countries. Today I want to share an elegant 3D card with you---the 3D PVC Fantasy Crystal Birthday Cake Card. I'm more comfortable working in smaller formats, so this cute format is my jam.

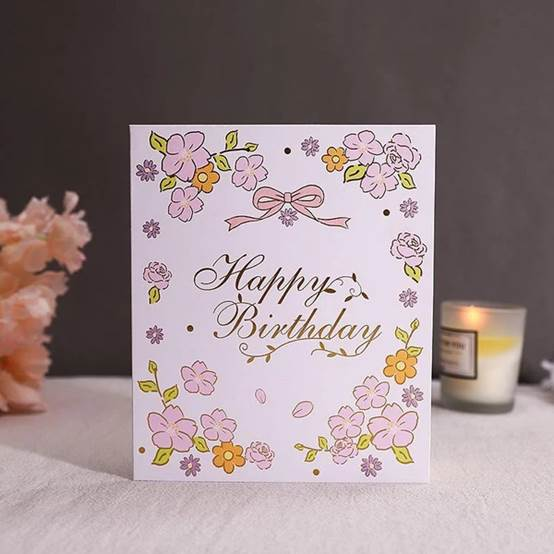
Let’s begin now. The front of the card. First, cut out a suitable size paper, and then draw the pattern you want on the paper. I took some pink and orange flowers of different sizes and drew a bow in the middle of the upper layer of the paper, with the words "Happy Birthday" written underneath.

Then you open up the card to this amazing 3D cake pop-up!
Here's how it comes together.

- First - trim a minithin card so it's slightly smaller than the finished card. Then, position the Birthday Cake Pop-up Die with the scoring bars on either side of the cake aligned with the crease in the card and run it through your die-cutting machine. Then Cut out a few birthday candles.
- Put a piece of tape behind the negative space on the card where the candles are, so the sticky side is facing the decorated card.
- Then glue card inside your card, being careful not to get adhesive on any of the moving cake parts.
An elegant 3D card is complete. Isn’t it easy to get started? Spend at most an hour a day, you can create beautiful cards to give your friends or family. Hope this blog can inspire you more.
Thank you so much for stopping by and Happy Crafting. Welcome to give us your comments on this. See you tomorrow.
Click the picture above to enter the product interface, thank you for your support.
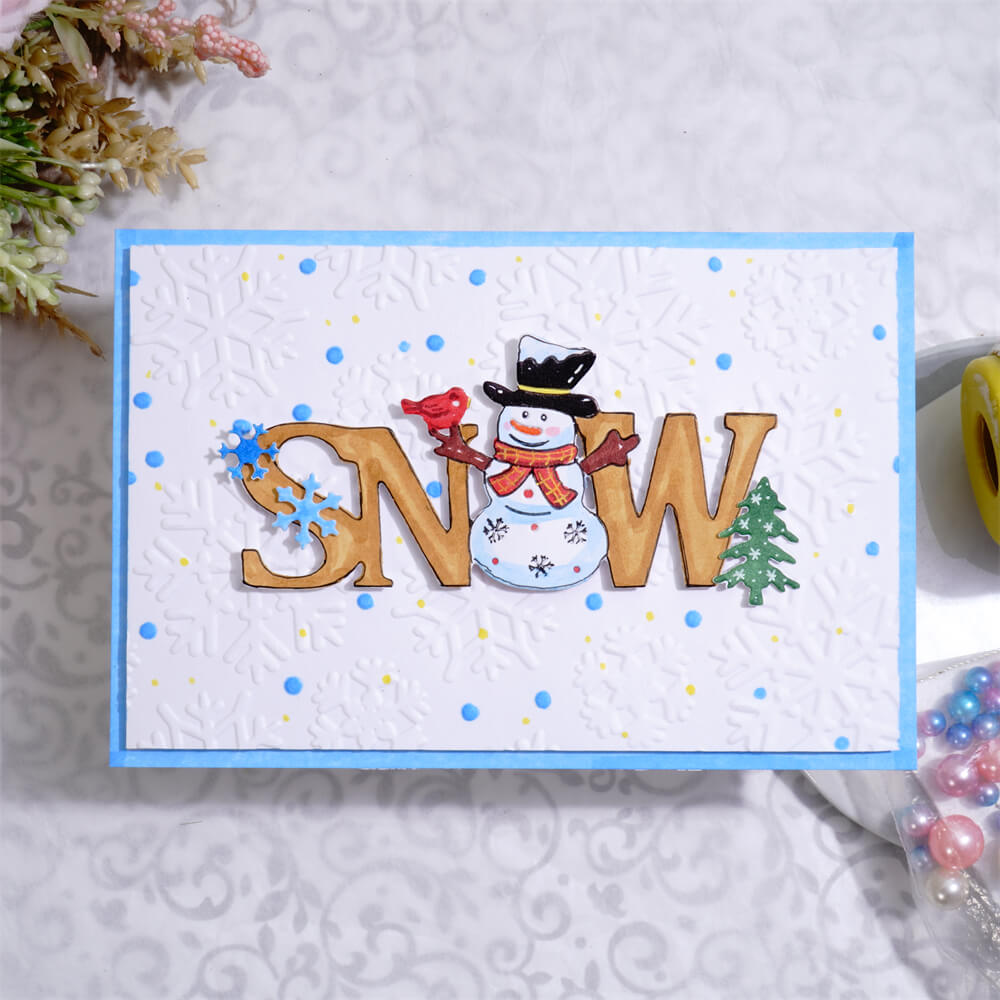
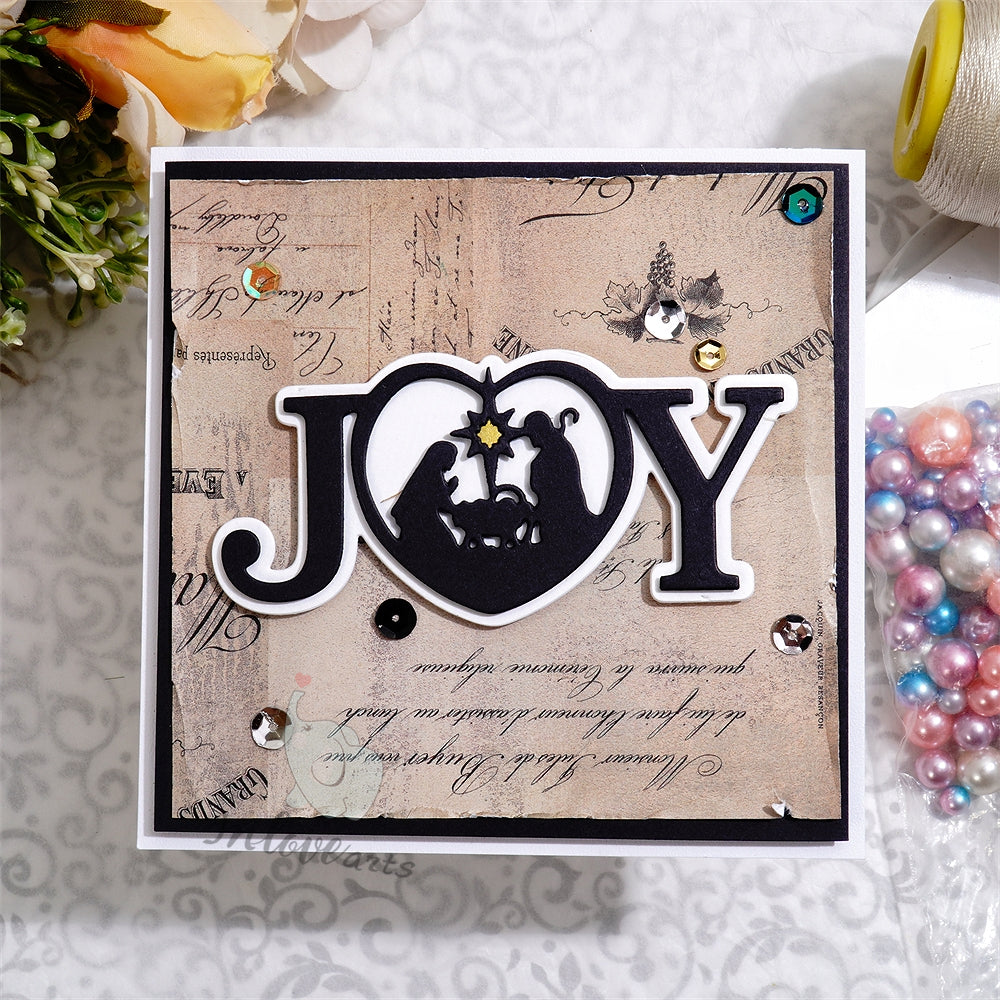
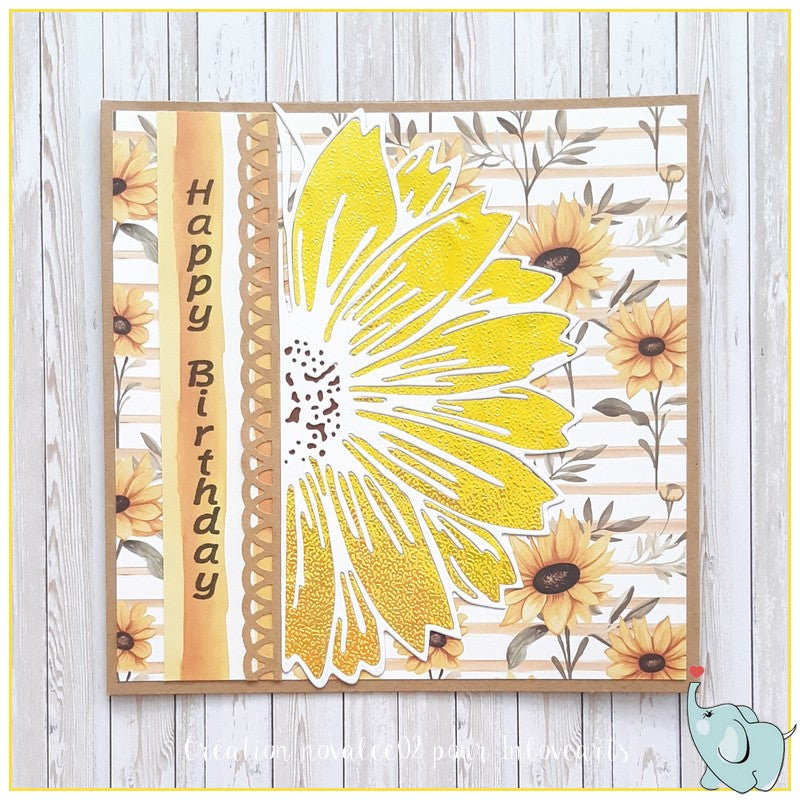
Below are other exquisite products in our shop, you can click the pictures to enter the product interface. Welcome to buy.


